How To: Enable x11 Forwarding with SSH
Just to quickly clear up a misconception, x11 forwarding works just fine with Wayland. Way back in the earliest days, it was agreed that it should retain backwards compatibility with x11 forwarding.
Enable x11 Forwarding With SSH
What is this strange thing, this x11 forwarding?
Perhaps a picture is in order. Check this:
So, how do you do it?
Well, first you need to crack open your terminal. To do that, you just press CTRL + ALT + T on your keyboard and your default terminal emulator will open.
Now, in said terminal, I want you to run the following command:
[code]sudo nano /etc/ssh/sshd_config[/code]
Once you have that open, you just need to remove the appropriate asterisk (uncomment it out) for the right line. Look for the line that says:
[code]#X11Forwarding yes[/code]
And change it to:
[code]X11Forwarding yes[/code]
Then save the file by pressing CTRL + X, then Y, and then ENTER.
[code]systemctl restart sshd[/code]
[code]ssh user@host_name.local -X[/code]
To try to make sense of that, if I were to do this connecting to the new MSI laptop, then my command would look just like:
[code]ssh kgiii@kgiii-msi.local -X[/code]
You can also use the IP address, instead of the hostname, just like we discussed in the previous article about SSH. To do that, it looks like this:
[code]ssh user@ip_address -X[/code]

Installing SSH on Linux
The man page defines SSH as: ssh — OpenSSH remote login client Now, simply type (this one can be easily adjusted to other package managers): [code]sudo apt install openssh-server[/code] [code]ssh remote_user@ip.a.d.d.r[/code] [code]ssh remote_user@host_name.local[/code] [code]ssh kgiii@kgiii-msi.local[/code] [code]hostname[/code] And, with that, I thank you my dear reader for taking the time out of your day to humor this old fool. Your feedback is appreciated and keep signing up to that whole newsletter thing. Being old, I tend to forget to submit and share these articles elsewhere. Signing up means you have no excuses for missing an article!How To: Enable SSH
How To: Turn Your Linux Box Into a WiFi Hotspot
Make a Linux WiFi Hotspot
linux-wifi-hotspot‘ Which is a great tool, complete with GUI if wanted, written by lakinduakash. It has only been around for a few years, but it’s spoken of very highly and it just works and works well. [code]sudo add-apt-repository ppa:lakinduakash/lwh[/code] [code]sudo apt update[/code] [code]sudo apt install linux-wifi-hotspot[/code] If you want, you can visit the link above, click on releases, and download the .deb file for the current release and just install it with gdebi. [code]yay -S linux-wifi-hotspot[/code] To check this, you need to run the following command: [code]iw list | grep AP[/code] Anyhow, the output should contain one or both of the following lines: Device supports AP scan. And/Or: Driver supports full state transitions for AP/GO clients.
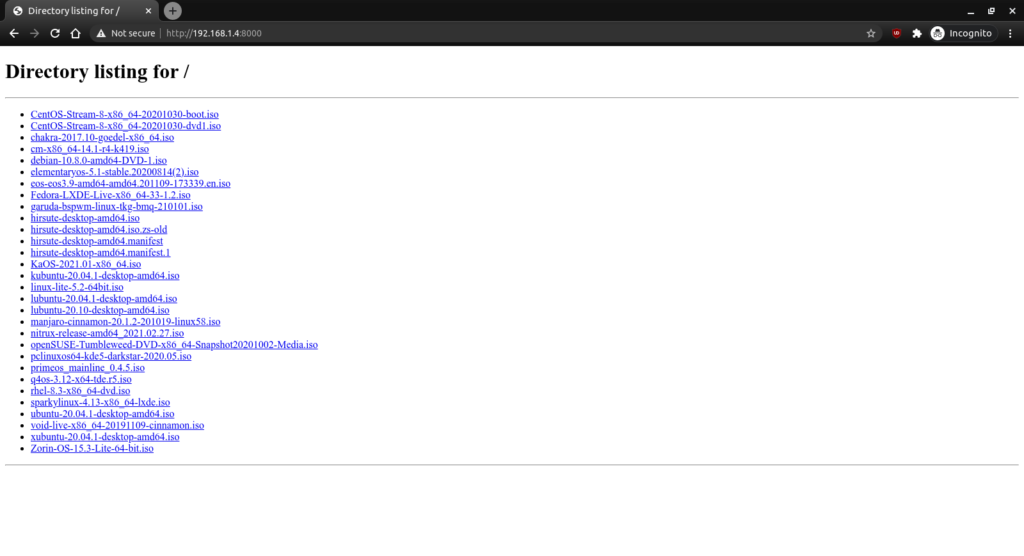
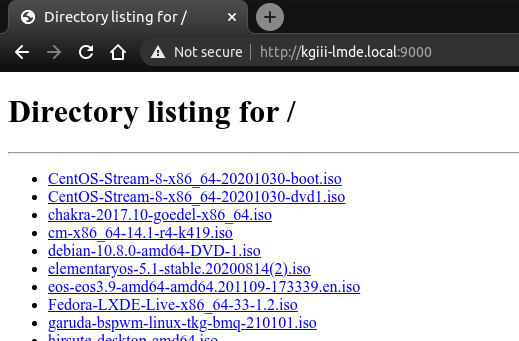
What to do? What to do? SSH (secure shell) enabled on your desktop (in this scenario) and that you know how to use it. So, it’s with a giant assumption and a leap of faith when I say that you’ve successfully used SSH to get to your desktop and you’ve already navigated to the directory where this latest and greatest distro image resides. SCP (secure copy protocol) if you wanted. That’s all well and good, but darn it we’re aiming for the most contrived situation possible just so I can tell you how to spin up a server with Python! So, for whatever reason, you’re hellbent on doing this in your browser. And do this in your browser you shall! contribute to the site! [code]python -V[/code] [code]python -m SimpleHTTPServer[/code] [code]python3 -m http.server[/code] [code]ip.address.of.desktop:8000[/code] Now, if you want to do so, you can also change the port number. This is the same for both commands. In both cases, just add your chosen port number at the end. Like so: [code]python3 -m http.server 9000[/code] And, again, it should look a bit like this: [code]wget http://kgiii-lmde.local:9000/debian-10.8.0-amd64-DVD-1.iso[/code]
IP addresses if you want a more detailed explanation. hostname, you can access it by IP address, and the address doesn’t change. [code]ip addr[/code] [code]valid_lft 39267sec[/code] [code]valid_lft forever[/code]Let’s Spin up a Quick Python Server!

Is my Internal IP Address Static or Dynamic?